Module 7: Risk Assessments
Module 7 Hands-on Activity
Overview
Students download the CISA CSET tool, install it, and use it to perform a Cybersecurity Framework Critical Infrastructure Risk Assessment.
Objectives
| Module 7 Learning Objective # | Revised Bloom’sTaxonomy | Hands-On Activity Objectives |
|---|---|---|
| 7.4 | Apply | Demonstrate an understanding of the CSET tool risk assessment functions. |
| 7.5 | Apply | Apply the CSET tool to an IT general risk assessment |
| 7.6 | Apply | Develop a report using CSET. |
| 7.7 | Apply | Apply the standard available in the CSET tool to an IT general risk assessment. |
Preparation
Watch the below video to help you better understand how to use the CSET tool:
Downloading CSET onto a PC
System Requirements
It is recommended that users meet the minimum system hardware and software requirements prior to installing CSET. This includes:
- Pentium dual core 2.2 GHz processor (Intel x86 compatible)
- 6 GB free disk space
- 4 GB of RAM
- Microsoft Windows 10 or higher
- Microsoft .NET Core 5.0 Runtime (included in CSET installation)
- SQL Server 2019 Express LocalDB (included in CSET installation)
- A Portable Document Format (PDF) reader such as Adobe Reader is required to view supporting documentation.
NOTE: For all platforms, we recommend that you upgrade to the latest Windows Service Pack and install critical updates available from the Windows Update website to ensure the best compatibility and security.
You can also find older legacy versions of the software on GitHub.
Downloading CSET
Click on “Accept”.
Complete the CSET Download Page. Complete the required fields, marked by an asterisk.
- For Organization Type, you can select “Private Industry”.
- Select a Sector appropriate to your Project.
- Select an appropriate Industry.
- Enter in the Country (United States of America).
- Click on the “Proceed to Download” button.
At the following page, click on the “Download Now” button to begin downloading the CSETStandAlone.exe file.
Using the CSET Stand-alone Installer
Double-click on the CSETStandAlone program.
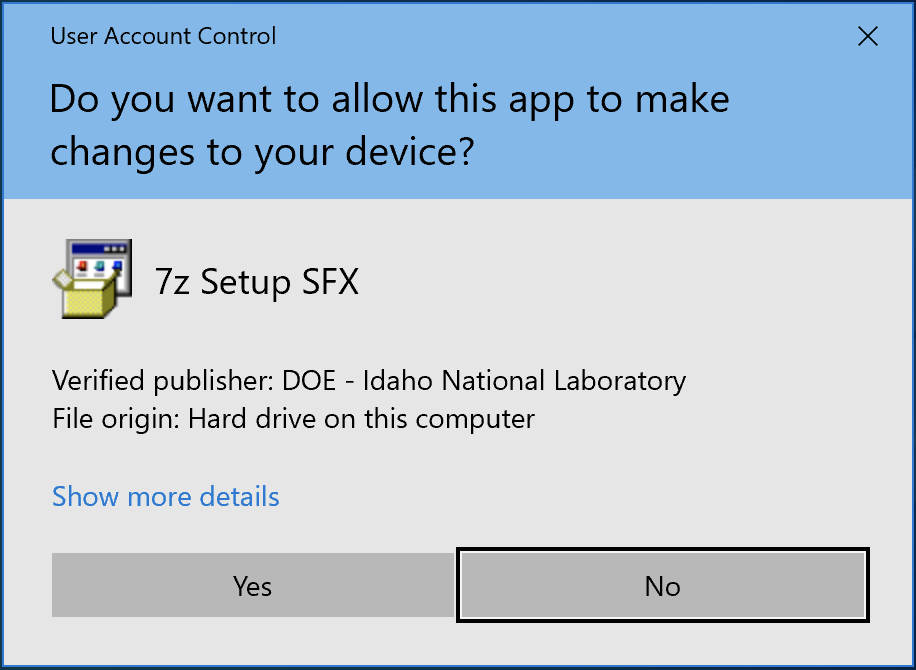
The User Account Control dialog will appear (Figure 1). Select “Yes”.
Figure 1
User Account Control dialog
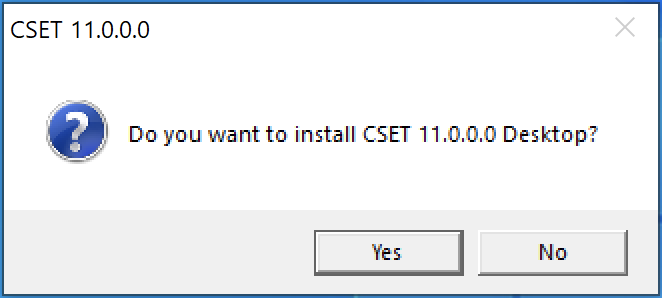
A CSET dialog will open asking if you want to install the CSET Desktop (Fig.2). Select “Yes”.
Figure 2
Install Dialog
The program will begin extracting.
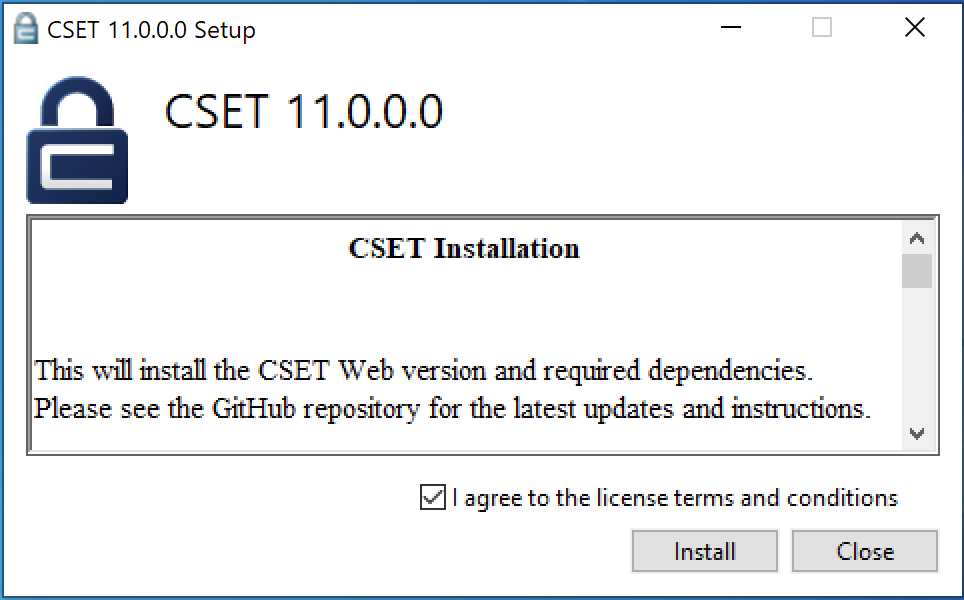
After the extraction is finished, a CSET Setup dialog will open (Fig.3). Select “Install”.
Figure 3
CSET Setup
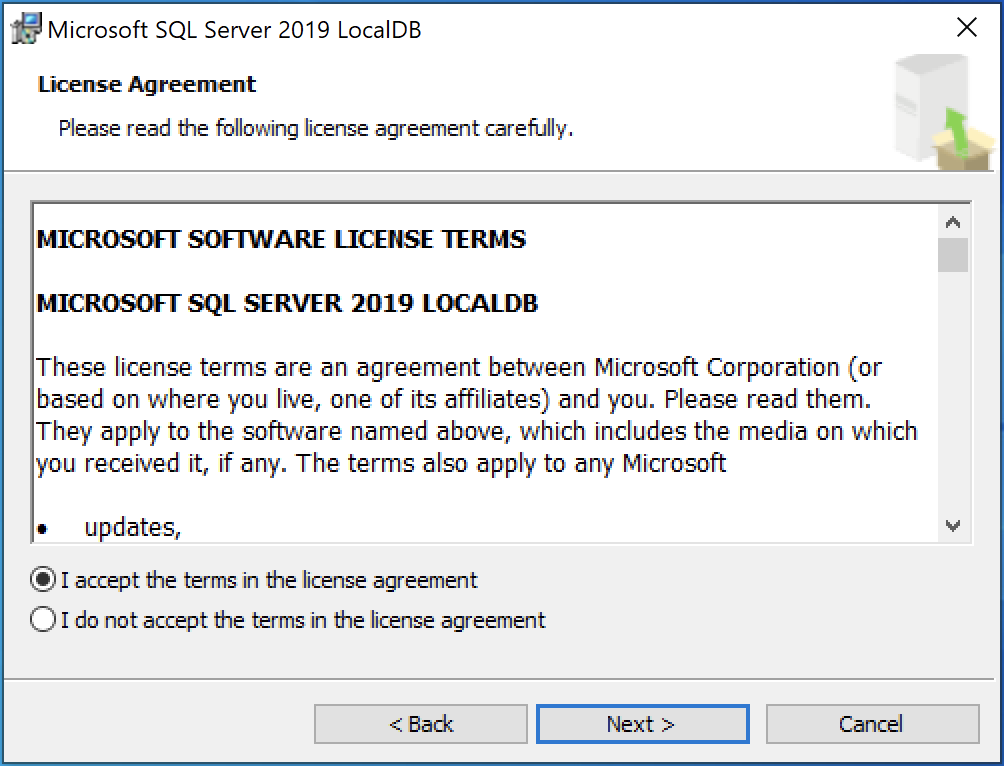
CSET will begin to install. If the user doesn’t have SQL Server 2019 LocalDB, CSET will install it. The SQL Server 2019 LocalDB Setup dialog will open (Fig.4). Click the check box to confirm that you “…accept the terms in the License Agreement”, select “Next”, and then select “Install”.
Figure 4
LocalDB 2019 Setup
LocalDB 2019 will install. Select “Finish” when it completes.
CSET will also install the .NET 7 and ASP.NET Core 7 runtimes in the background if they are not already installed.
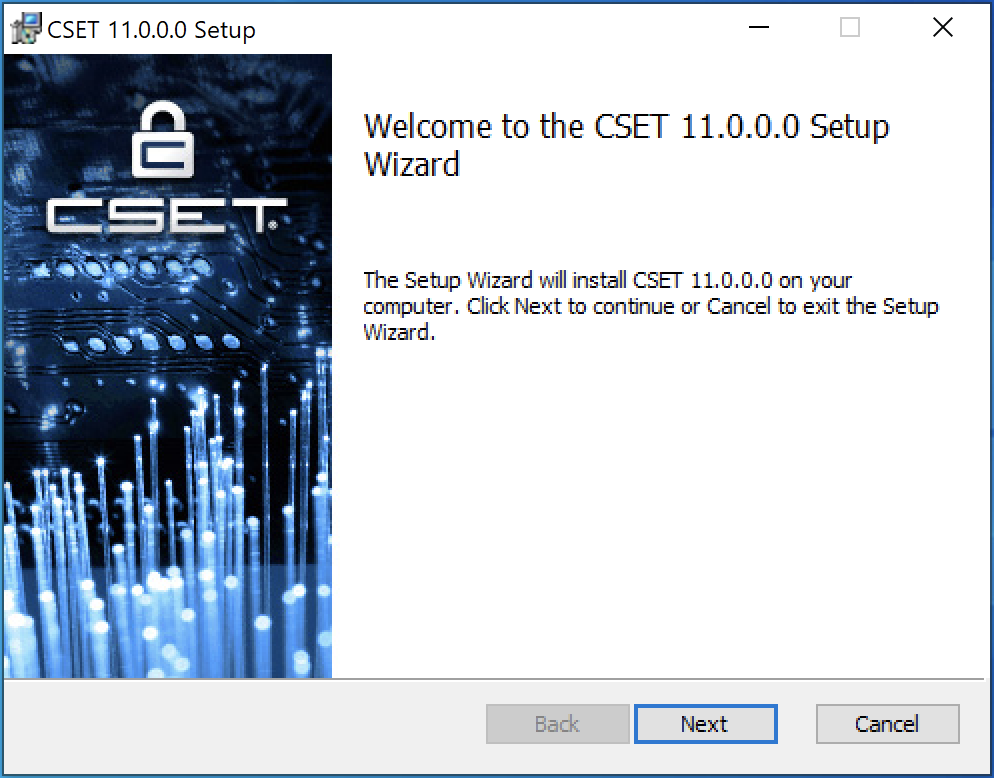
The CSET Setup Wizard will open to walk the user through the install process (Figure 5). Select “Next”.
Figure 5
Setup Wizard
A disclaimer will open (Fig.6). Read through and then click the box “I read the disclaimer”, and select “Next”.
Figure 6
Disclaimer

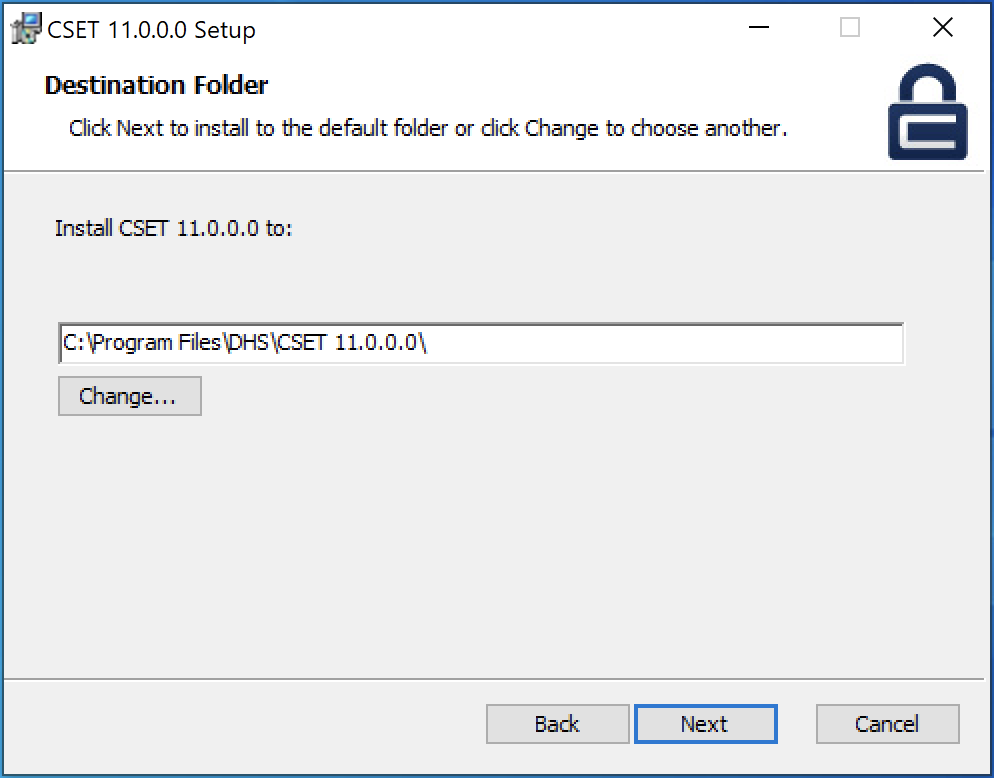
CSET will choose a default folder to install CSET to, but you can change this in the Destination Folder dialog (Fig.7). Select “Next”.
Figure 7
Destination Folder
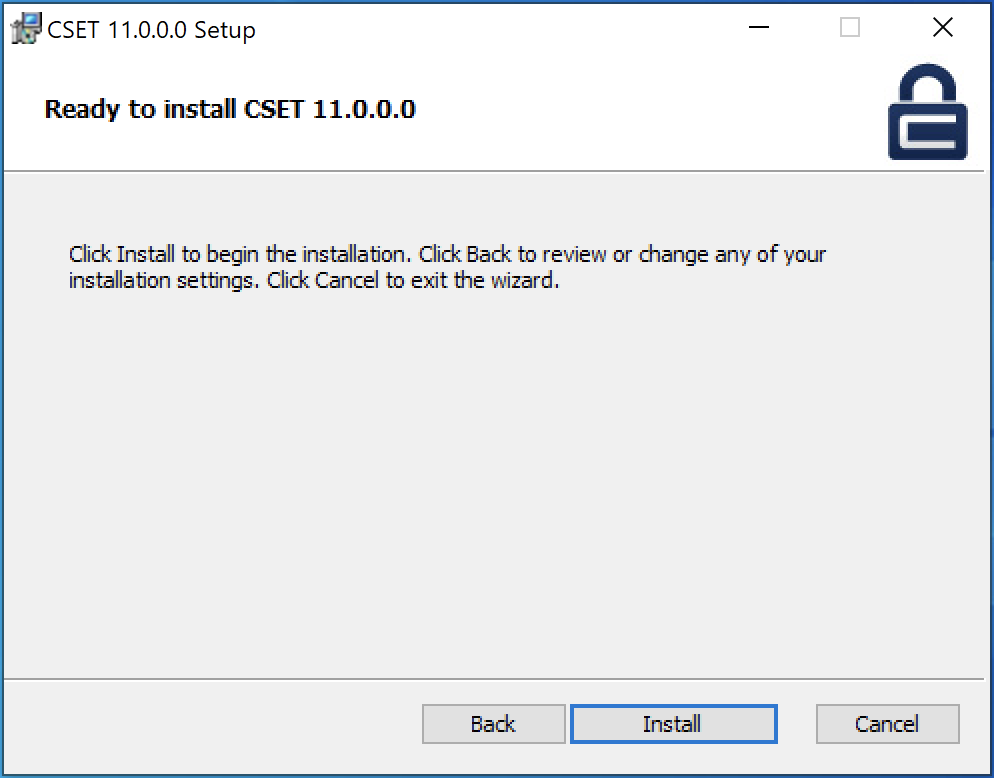
The CSET Installer will show that it is ready to install (Figure 8). Select “Install”.
Figure 8
Ready to Install
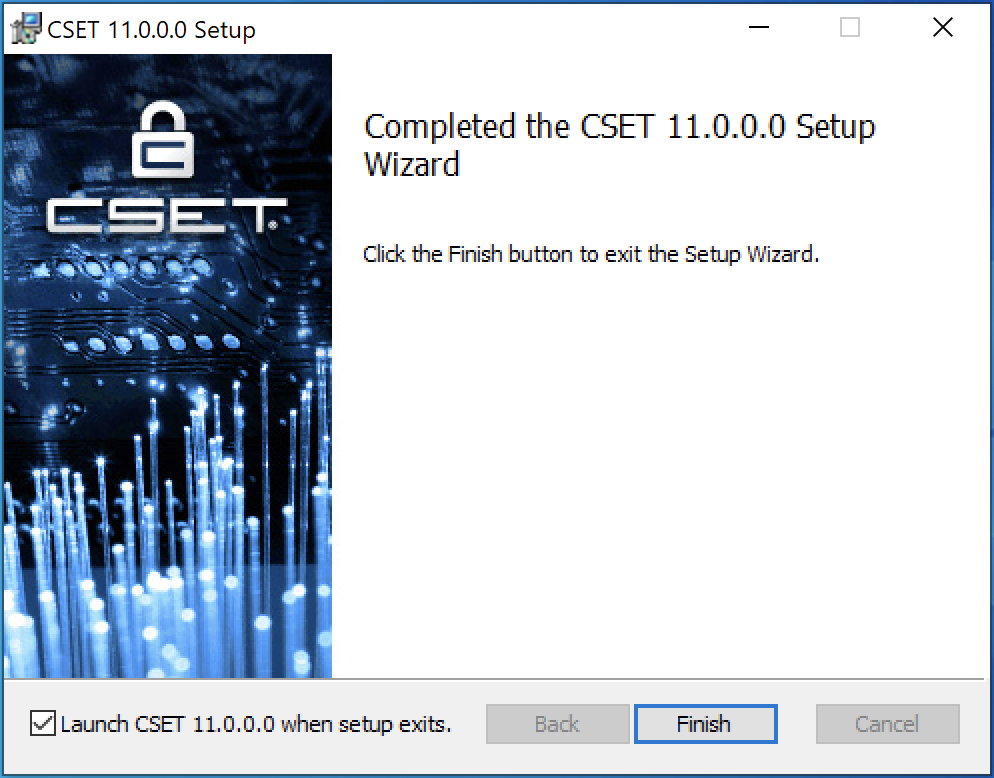
The installation of the main CSET application will begin. Once the installation is finished, the completed CSET Setup Wizard dialog will appear. Make sure the “Launch CSET when setup exists” box is checked, and select “Finish”.
Figure 9
Completed CSET Setup Wizard
The user should see a setup successful dialog box (Figure 10).
Figure 10
Setup Successful

The user has access to CSET as Local User. The Local Installation ribbon is visible at the top of the screen. They can see their landing page with no assessments at this time (Fig.11).
Figure 11
Local Install Landing Page

Using CSET on a Mac
If you are using a Mac, you will need to download Oracle’s VM VirtualBox and set up a virtual PC. Then you can download and install CSET on the virtual PC per the above instructions.
About Oracle VM VirtualBox
VirtualBox is powerful Cross-platform Virtualization Software for x86-based systems. “Cross-platform” means that it installs on Windows, Linux, Mac OS X, and Solaris x86 computers. “Virtualization Software” means that you can create and run multiple virtual machines, running different operating systems, on the same computer at the same time. For example, you can run Windows and Linux on your Mac, run Linux and Solaris on your Windows PC, or run Windows on your Linux systems.
Oracle VM VirtualBox is available as Open Source or pre-built Binaries for Windows, Linux, Mac OS X, and Solaris.
Assignment
Once you have installed CSET, perform a “Screen Print” of your desktop to show that the icon for CSET has been installed. Open a Microsoft Word document and paste the screen print into the document. Save the document and submit it to the instructor.
Grading Criteria Rubric
- Proof that the CSET Tool has been downloaded and installed.
Grade points: 100
